Planning an office fitout and not sure where to start?
You’re not alone. Most business owners we talk to have never been through a commercial fitout before. They’ve signed a lease, they’ve got a vision in their head, and then they realise pretty quickly that there’s a lot more to this process than picking paint colours and ordering desks.
The good news? When you know what’s coming, the whole thing is a lot less stressful. This guide walks you through every single stage of the office fitout process — from the first conversation with a designer all the way through to handing out keys to your team.
Whether you’re moving into a brand new space, renovating an existing office, or just starting to research what’s involved, this is the guide we wish every client read before we got started.
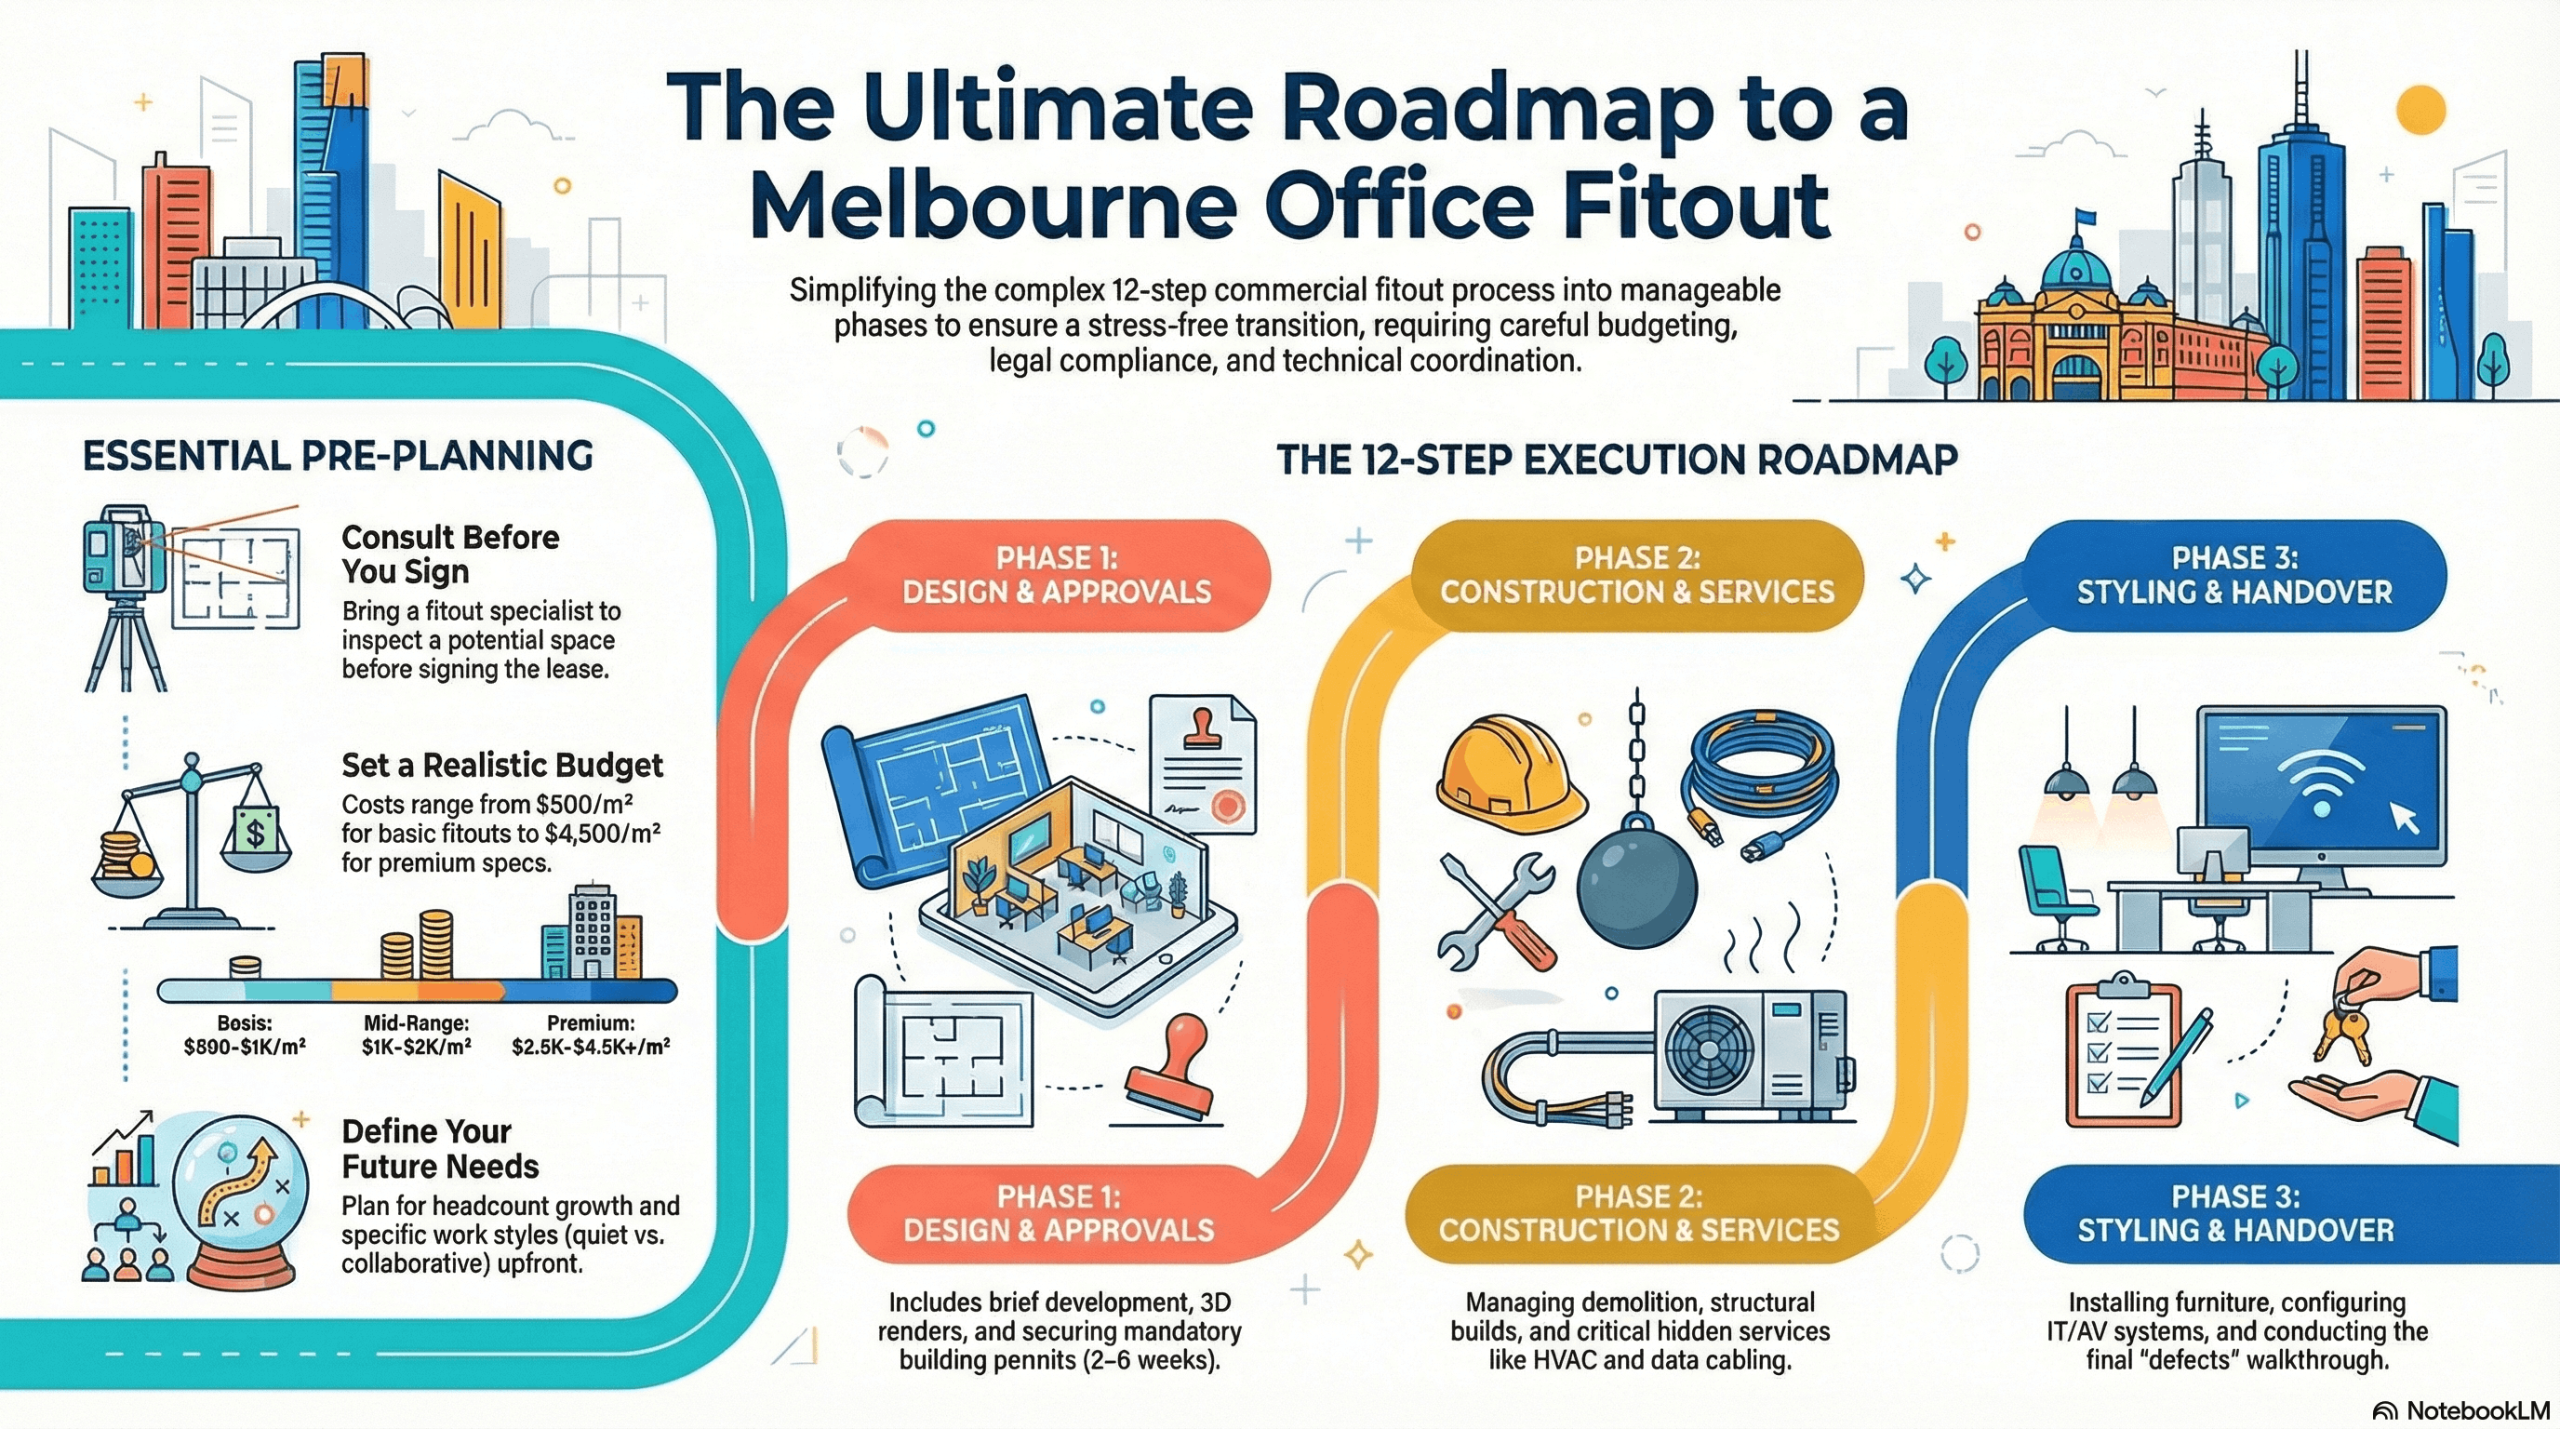
Before You Do Anything Else — Get These Three Things Right
1. Know What Your Business Actually Needs
Before you call a fitout company, before you look at floor plans, before you do anything — sit down and answer some basic questions about how your business works.
How many people are you fitting out for right now? How many in two or three years? Do your staff need quiet, focused workspaces, or do they thrive in open collaborative environments? Do clients visit your office regularly? If they do, your reception and meeting areas need to make an impression.
These questions shape everything. A law firm fits out differently to a tech startup. A team of 10 fits out differently to a team of 80. The more clearly you can answer these questions upfront, the better your fitout will turn out — and the less you’ll spend fixing things later.
2. Set a Budget You Can Actually Work With
Office fitout costs in Melbourne vary a lot. A basic commercial fitout might run $500–$1,000 per square metre. A mid-range fitout sits around $1,000–$2,000/m². A premium, high-spec fitout can go $2,500–$4,500/m² or more.
But your fitout budget isn’t just the construction cost. It’s also furniture, IT equipment, signage, relocation, and the contingency buffer you’ll need for unexpected surprises. Always hold back 10–15% for the things you didn’t plan for — because there’s almost always something.
If you’re not sure what’s realistic, a good commercial fitout company will give you honest numbers early. Don’t wait until you’ve already committed to a space to have that conversation.
3. Choose the Right Space (Before You Sign Anything)
Here’s something a lot of businesses get wrong. They find a space they love, sign the lease, and then call a fitout company. By that point, the decisions that affect your fitout cost the most have already been made.
Try to bring a fitout specialist in before you sign. They’ll look at the space differently to you. They’ll spot old building services that need replacing, identify compliance issues, and tell you whether the floor plate suits your intended layout. A short conversation before you sign can save you a lot of money after.

The Office Fitout Process — Step by Step
Step 1: Initial Consultation and Brief
This is where it all starts. Your first meeting with a commercial fitout company is really just a conversation — about your business, your space, your budget, and what you’re hoping to achieve.
Come prepared. Bring your floor plan if you have one. Know roughly how many workstations you need, what kind of meeting spaces you want, and whether there are any non-negotiables (a specific brand look, accessibility requirements, or a must-have breakout area).
A good fitout contractor will ask a lot of questions at this stage. That’s a good sign. The more they understand your business now, the better the end result.
Questions worth asking your fitout company at this first meeting:
- How many projects like mine have you completed?
- Will you manage the full project or subcontract parts of it?
- What’s included in your quote and what’s not?
- How do you handle delays or unexpected costs?
Step 2: Space Planning and Concept Design
Once your brief is locked in, your fitout company will start turning it into an actual floor plan.
This is one of the most important stages of the whole process. The layout of your office affects how your team works, how clients feel when they walk in, how noise travels, how natural light reaches workstations, and how efficiently your space gets used.
Good space planning isn’t just about fitting as many desks as possible. It’s about creating a flow that makes sense for the way your business actually operates.
At this stage you’ll explore different layout options — open plan, partitioned offices, hybrid setups, or activity-based working arrangements. Your designer will consider things like traffic flow, emergency egress, accessibility, acoustic zoning, and the placement of collaborative vs. focused work areas.
Design decisions made here ripple through your entire budget. Moving a wall on paper costs nothing. Moving it during construction costs a lot.

Step 3: Design Development and Approval
Once the layout is approved, the design gets developed in detail.
This means choosing finishes — flooring types, wall paint, ceiling systems. It means selecting furniture, joinery styles, lighting fixtures, and colour palettes. It means making hundreds of smaller decisions that add up to the overall look and feel of your office.
Most fitout companies will produce 3D renders or visualisations at this stage. These are really useful. They help you (and your team) actually see the finished space before anything gets built. If something looks off in the render, now is the time to change it — not during construction.
Get internal sign-off from your key stakeholders before moving forward. Changing your mind halfway through a build is expensive and slow.
Step 4: Permits, Approvals, and Compliance
This is the stage a lot of businesses underestimate — especially when it comes to timing.
Almost every commercial office fitout in Victoria requires a building permit. Depending on the scope of work, you may also need a fire engineering report, an accessibility compliance check, or specific approvals from your building owner or body corporate.
If you’re in a heritage-listed building, there can be additional restrictions on what you’re allowed to change or add. These aren’t impossible to work around, but they take time and specialist advice.
A good fitout company handles all of this for you. They know what approvals are needed, who to talk to, and how to keep the process moving. But it’s worth knowing upfront that approvals can take 2–6 weeks in some cases. Build this into your overall project timeline.
Step 5: Contractor Procurement and Project Scheduling
Before a single wall goes up, your project manager is already coordinating a long list of trades — carpenters, electricians, plumbers, HVAC technicians, data cabling specialists, glaziers, painters, flooring contractors, and more.
A detailed project programme gets built at this stage. It maps out every task, in the right order, with realistic timeframes for each. It shows you when key milestones will be reached and what the handover date looks like.
If your business needs to keep operating while the fitout is being built — which is often the case — your project manager will plan around your team. That might mean staging the work, scheduling noisy trades outside business hours, or setting up temporary work areas.
Step 6: Demolition and Site Preparation
If you’re taking over a space that’s already been occupied, it usually needs to be stripped back before anything new can go in.
Demolition involves removing existing walls, ceilings, flooring, old joinery, and redundant services. It’s loud, it’s dusty, and it sometimes turns up surprises — old asbestos, hidden structural elements, services that aren’t where the drawings said they’d be.
This is exactly why a contingency budget matters. Experienced fitout contractors plan for the unexpected. If something turns up that wasn’t in the scope, it gets assessed, costed, and communicated to you quickly — rather than just getting quietly added to the bill at the end.
Step 7: Construction and Building Works
With the site prepped, the building phase begins.
This is where new walls go up, partitions get framed, ceiling grids get installed, and the skeleton of your new office takes shape. At this stage it’s all studs and plasterboard and scaffolding — it doesn’t look much like an office yet, but the bones are being built.
If your fitout includes any structural modifications — new openings, load-bearing changes, mezzanine levels — this is when that work happens. It requires engineers and additional coordination, but a good project manager keeps everything sequenced correctly.
Step 8: Mechanical, Electrical, and Plumbing Services
This is the hidden part of your fitout — the stuff inside the walls and ceilings that you’ll never see but will use every single day.
HVAC (heating, ventilation, and air conditioning): New zones get created, ductwork gets installed or modified, thermostats and controllers get positioned where your team needs them.
Electrical: Power points, lighting circuits, emergency lighting, exit signs — all get wired and fitted. Data cabling for your workstations, server room, and meeting rooms gets run at this stage too.
Plumbing: If your fitout includes a new kitchen, additional bathrooms, or a coffee station, the plumbing rough-in happens here.
Getting these services right is one of the biggest cost variables in any commercial fitout. Older buildings often need substantial upgrades to meet current codes. Always ask your fitout contractor to give you a clear breakdown of what’s included in the services scope.
Step 9: Fit-Off and Finishing
This is the stage where your office really starts to look like something.
Joinery gets installed — your reception desk, kitchen cabinetry, built-in storage walls. Glass partitions go in. Feature walls get tiled or clad. Floors get laid. Paint goes on.
Branding elements — logo walls, printed graphics, wayfinding signage — often get installed at this stage too. If your brand identity is strong, this is where your office starts to reflect it.
This stage requires close attention to quality. A good fitout company has a quality control process that checks every finish before the next trade comes in. Gaps get filled, edges get trimmed, and inconsistencies get caught before they become defects.
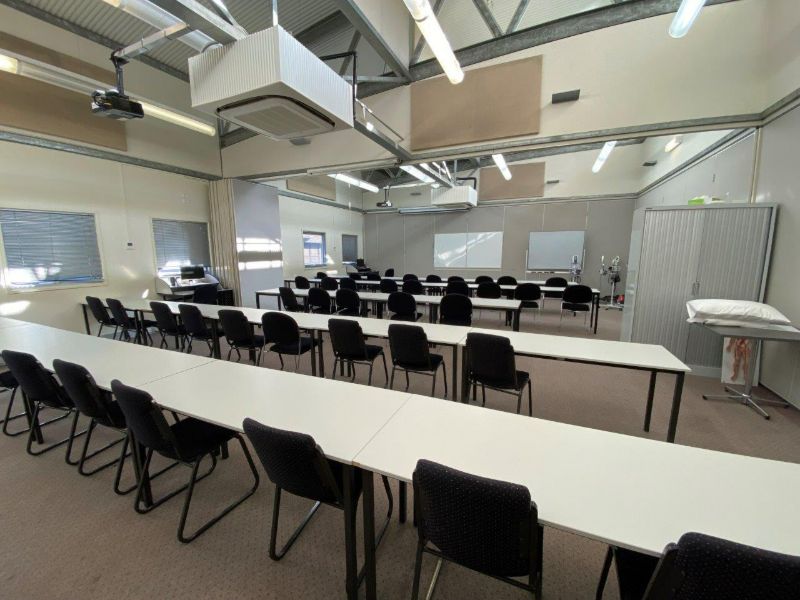
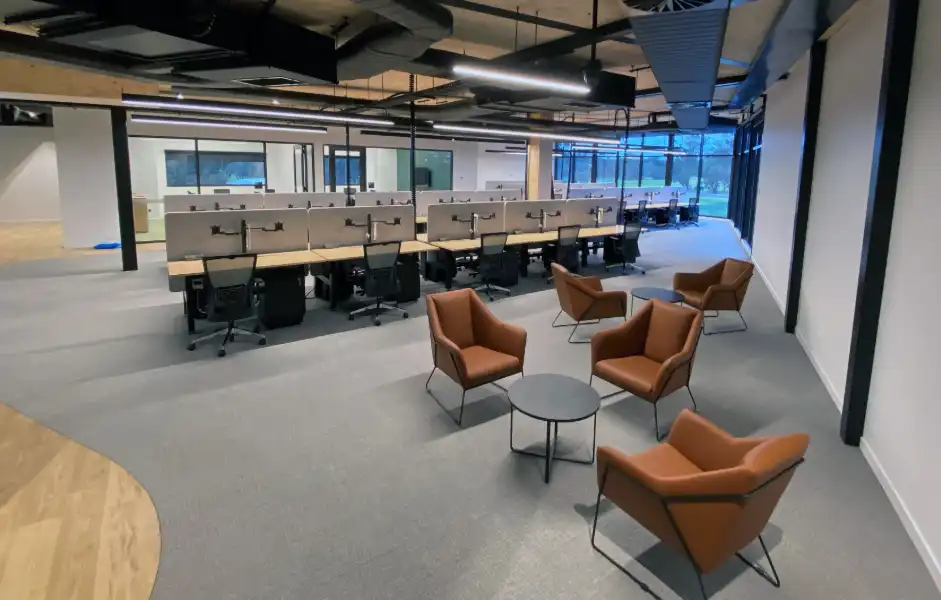
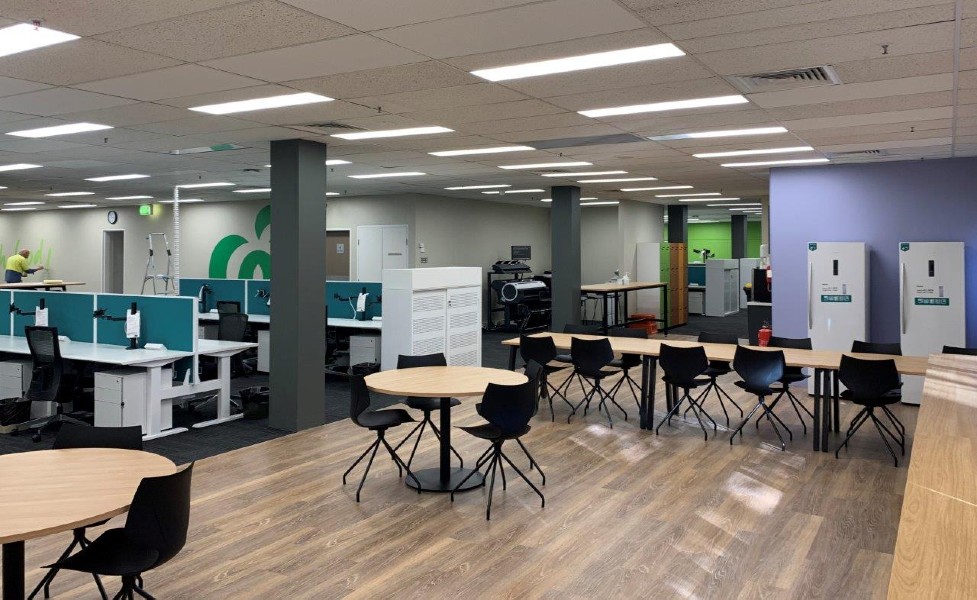
Step 10: Furniture Installation and Styling
Desks. Chairs. Meeting tables. Soft seating. All of it gets brought in and installed once the hard construction is complete.
For workstations, this means assembling and positioning desk systems, installing cable management, and making sure everything lines up with the data and power points that were run in Step 8. (This is why good coordination between your fitout contractor and furniture supplier matters so much.)
Breakout areas and collaborative spaces get furnished at this stage too — couches, ottomans, high tables, acoustic pods. These spaces are increasingly important in modern Melbourne offices, and the right furniture choices make them genuinely useful rather than just decorative.
Step 11: IT, AV, and Technology Setup
The building is done. The furniture is in. Now your office needs to actually work.
IT and AV installation covers a lot of ground: connecting data points to your server room or cloud infrastructure, setting up audio-visual systems in meeting rooms and boardrooms, installing video conferencing equipment, configuring presentation screens, and setting up security systems and access control.
This stage is often coordinated separately from your main fitout contractor — your IT provider usually takes the lead here. But good project management keeps everyone talking to each other so the AV cabinet ends up where the electricians ran the conduit, and the security system integrates properly with your door hardware.
Don’t leave IT and AV to the last minute. Lead times on equipment can be long, and if your team can’t connect on day one, no one’s happy.
Step 12: Practical Completion and Handover
“Practical completion” is the point where your fitout contractor hands the space back to you. It’s not necessarily perfect — there’s usually a short list of minor defects to fix — but it’s ready to be occupied and used.
At handover, you’ll do a thorough walkthrough with your project manager. Bring a critical eye. Check every room, every surface, every fixture. Anything that doesn’t meet the agreed specification goes on a defects list — sometimes called a “snagging list” — and your contractor is obligated to fix it within the defects liability period (usually 3–12 months, depending on your contract).
You’ll also receive all your documentation at this point — as-built drawings, warranties on products and workmanship, building permit sign-off, and any manuals for installed systems.
After the Fitout — Getting Your Team Settled In
Moving In and Going Live
The build is done. Now comes the move.
Coordinate your physical relocation carefully. Book professional removalists, communicate clearly with your team about the move schedule, and plan your IT cutover so there’s minimal downtime. The last thing you want is to finally have a beautiful new office and spend the first two days unable to connect to the internet.
Give your team a proper orientation of the new space. Show them where things are, how the HVAC controls work, and who to contact if something isn’t right. It sounds basic, but it makes a big difference to how quickly people settle in and start using the space properly.
Post-Fitout Review
A few weeks after moving in, it’s worth sitting down with your fitout contractor and reviewing how the project went.
Did everything get delivered on time? Were there costs that surprised you? Are there any parts of the space that aren’t working the way you expected? Getting honest answers to these questions helps you — and your contractor — do better next time.
And if any defects show up in the weeks after moving in, log them with your contractor promptly. Don’t wait until they become bigger problems.
Common Mistakes to Avoid
Starting without a clear brief. The vaguer your instructions, the more room there is for the result to miss the mark.
Underestimating the timeline. Design and approvals alone can take 6–10 weeks before construction even starts. Plan accordingly.
Choosing a contractor on price alone. The cheapest quote is rarely the cheapest outcome. Understand what’s included — and what isn’t.
Not involving your team early enough. The people who work in your office every day have really useful input. Ask them before the design is locked in, not after.
Forgetting the “other” costs. IT, signage, furniture styling, and relocation costs are real budget lines. Don’t leave them out.
Leaving compliance too late. Building permits and landlord approvals take time. Start early.
Why a Full-Service Fitout Company Makes the Whole Process Easier
When you work with a company that handles design, construction, project management, and furniture under one roof — everything just runs more smoothly.
You have one point of contact, not five. The designer and the builder are talking to each other from day one. When a problem comes up (and something always comes up), there’s no blame game between contractors. It just gets sorted.
At Progressive Corporate, that’s exactly how we work. We’ve been managing end-to-end commercial office fitouts across Melbourne for over 27 years. We’ve fitted out everything from small professional offices in the suburbs to large corporate headquarters in the CBD, and we’ve worked with businesses across just about every industry you can think of — including Telstra, Kia, Commonwealth Bank, and RMIT.
Ready to Get Started? Let’s Talk.
If you’ve read this far, you’re already ahead of most businesses when it comes to planning your fitout. You know what’s involved, you know what questions to ask, and you know what to watch out for.
The next step is simple. Get in touch with our team for a free consultation. We’ll look at your space, talk through your brief, and give you an honest picture of what’s involved — before you commit to anything.
Call us on (03) 7018 0761, email sales@progressiveoffice.com.au, or visit our showroom at 1 Forbes Close, Knoxfield VIC 3180.
We’d love to help you build something you’re proud of.